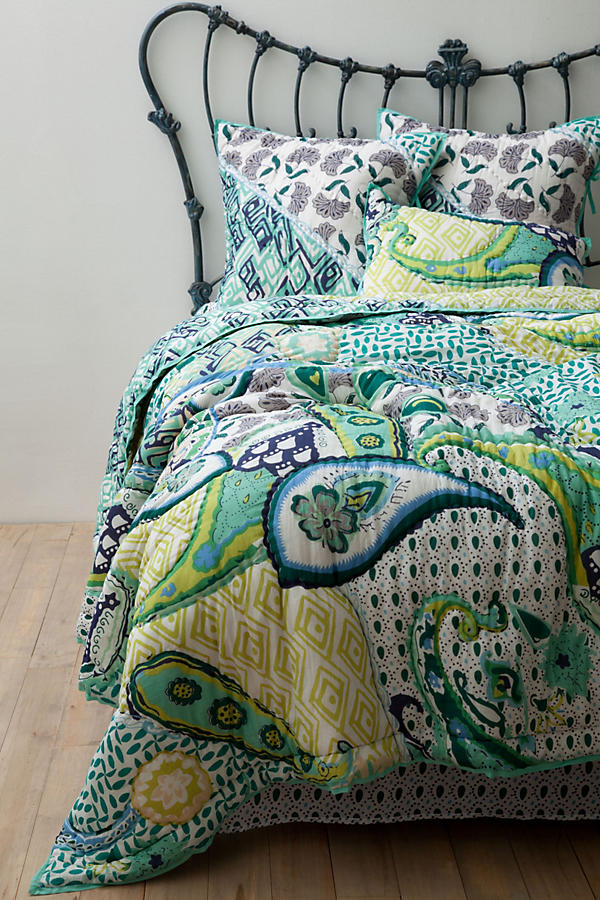
My mom has a beautiful bedspread that she got from Anthropologie a few years ago. We are always on the lookout for their discounted quilts and bedspreads because they are beautiful and well made.
After only a year or so of owning this bedspread, she noticed it was starting to fall apart. The fabric is so thin and the minimal hand-quilting is so sparse.
*My mom also ran it through the washer when the label said dry clean only, but still!*
All of the batting clumped up and slid to one section of the bedspread because there was not enough quilting to keep it in place.
 |
| After I removed the binding and the top layer of the quilt, you could clearly see how shredded the binding was |
I decided to take it apart and reconstruct it into a new and improved quilt.
I got enough white fabric to reinforce both the top and the bottom of the quilt.
Then I laid each of the two layers out flat and placed the white cotton reinforcement fabric on top and safety pinned every foot or so to keep the fabric in place. Once both layers were reinforced and pinned, I placed the new batting in between the two layers and re pinned, this time pinning all the layers together (the top of the quilt, reinforcement cotton, polyester batting, reinforcement cotton, bottom of the quilt).
*My mom and I chose to use polyester batting because we felt it may be sturdier that cotton batting.* The original batting was cotton and fell apart much easier than polyester would have. This is because cotton fibers are short and polyester fibers are long.
Once all the layers were pinned together, I was ready to start some light quilting.
I followed some lines in the design on the underside of the fabric and also created perpendicular lines forming diamond shapes.
 |
| Grid quilting detail |
I had some difficulty with my machine as I was half way through the quilting process. The tension was off and I couldn't seem to fix it, so I took my machine in for servicing and... the problem was still not fixed!
 |
| Bad tention results |
So I left the quilt unfinished for over six months.
When I finally gave it another shot, I was able to finish the grid quilting with no more tension issues. Hopefully my machine keeps working properly So far so good!
For some reason, I assumed reattaching the binding would be quick and easy, but it was not! There are so many layers on this quilt. It was difficult to get them all to line up perfectly and cooperate. Like I mentioned earlier, This fabric is very thin and delicate.
 |
| First edge of the binding attached |
After stitching the first edge of the binding to the quilt, I pinned the other side down and attempted to stitch in the ditch to attach it. However, this method did not work well with this fabric. The fabric kept moving, despite my pinning efforts.
After only a few minutes of trying that, I decided it would be better if I tried something a little more forgiving than stitching in the ditch. I decided on a zig zag stitch.
 |
| Zig zag stitch to finish off the binding |
I finally finished it! I'm embarrassed to admit how long I've had this unfinished quilt in my hands...
It is such a relief to finally have it finished. It is definitely not perfect. I ran into several obstacles along the way, but it is more durable than before and my mom is thrilled to get more life from her favorite bedspread.
It should even withstand my mom's machine washing.